.webp)
Construction Chemicals

One of the most common issues affecting the walls of both residential and commercial structures worldwide is Wall Seepage. While starting as a small damp spot on the wall, paint bubbling up, or just a little bit of the air smelling a little musty, eventually this turns into peeling paint, Mould Growth, Efflorescence, Damaged Plaster, and finally costly Repairs. What’s challenging about Wall Seepage is that it doesn’t always have anything to do with the wall! There are many different causes behind Wall Seepage, such as rainwater coming through your external surface, Roof Leakage, Concealed Plumbing Problems, Rising Damp, Cracks, and Construction Defects – Allowing Moisture to travel through Masonry. While painting over an issue might give you some temporary relief and at least make the walls appear a lot neater and more beautiful again, sometimes there isn’t anything to be done besides addressing the Source of Moisture directly. That means we need to go back and figure out how exactly the moisture got onto your wall in the first place before figuring out what kind of Waterproofing Method would best work for your specific problem. Wall seepage means that there’s a gradual process by which either water or moisture makes its way through porous types of masonry (plaster), concrete or mortar joints, cracks or even various other forms of building material. When this moisture builds up behind the paint and plaster, you’ll find a variety of things taking place, including damp patches, stains, salt deposits, bubbling paint and, of course, mould. But first, some important notes about the difference between seepage vs leakage vs dampness: Seepage – this typically refers to the slow rate of moisture passing through pores/vulnerable surfaces. Leakage – often involving a more readily observable form of water ingress into your walls due to cracked pipes/plumbing systems, damaged roofing membranes/joints or the like. Dampness – simply defined as a general state where a given wall or building element has too much moisture in it for comfort, with possible origins ranging from seepage & condensation down to issues with rising dampness/leaks from your plumbing system/poor ventilation patterns! This distinction determines which form of treatment you need to seek. For instance, if your house has experienced a plumbing leak, then the remedy will involve plumbing repairs, but if it’s been affected by rainwater penetration on the exterior surface of your home, the solution can be sought through an appropriate exterior waterproofing system. Recognising the early signs of wall seepage can help prevent extensive damage. Instead of looking at each symptom as an isolated paint problem, consider what it may indicate about moisture inside the wall. Damp patches are often the first visible indication of moisture movement. They may appear as darker or discoloured areas on interior walls, particularly after rainfall. If a patch repeatedly becomes wet and then dries, it may indicate water entering from an exterior wall, roof, bathroom, or plumbing system. When moisture becomes trapped behind paint, pressure can build between the wall surface and the paint layer. This may cause the paint to bubble, blister, or lift away from the substrate. Repainting without treating the moisture source usually results in the bubbles returning. Persistent moisture weakens the bond between paint, primer, plaster, and the underlying wall. As a result, paint may begin flaking or peeling. If peeling repeatedly appears in the same area after repainting, investigate for an underlying wall seepage problem. White powdery deposits are commonly known as efflorescence. They occur when water moves through masonry and carries dissolved salts toward the surface. As the moisture evaporates, salts can remain behind as a white crystalline deposit. A persistent musty odour can indicate excessive moisture in a poorly ventilated area. It may become particularly noticeable near damp walls, corners, basements, bathrooms, or areas affected by concealed water entry. Mould can develop when moisture remains present for extended periods. Black, green, or dark patches around damp areas should not simply be painted over. The moisture condition should be investigated and controlled. Corners can become damp when water enters through adjoining walls, roof-wall junctions, windows, or plumbing lines. Wet corners that appear repeatedly after rain or remain damp for long periods require closer inspection. Cracked plaster can create pathways for water to enter the wall. Even small cracks may become problematic when exposed to heavy rainfall or persistent moisture. Cracks should therefore be assessed before applying any surface treatment. Identifying the cause is the most important part of solving wall seepage. Different sources leave different patterns, so treating every damp wall in the same way can result in repeated repairs. Exterior walls are continuously exposed to rain, humidity, and changing weather conditions. When protective coatings deteriorate, or the masonry remains highly porous, rainwater can penetrate the wall. Over time, this moisture may travel inward and appear as damp patches or peeling paint. Proper exterior waterproofing helps reduce water penetration through exposed masonry and vulnerable wall surfaces. Water entering through a damaged roof or terrace can travel downward through concrete, masonry, and plaster. The visible damp patch may therefore appear some distance away from the actual point of water entry. This is why a ceiling stain or upper-wall damp patch should not automatically be treated from the interior. The roof or terrace above should also be inspected. Concealed plumbing leaks can closely resemble wall seepage caused by rainwater. A damaged water supply pipe, drainage pipe, or bathroom connection can release moisture inside the wall. A useful clue is location. Dampness that appears close to bathrooms, kitchens, wash areas, or plumbing lines may require a plumbing inspection before waterproofing work begins. Rising damp occurs when moisture from the ground moves upward through porous masonry by capillary action. It is more common in lower portions of walls, particularly where damp-proofing or moisture barriers are inadequate. The resulting symptoms may include damp patches, salt deposits, deteriorated plaster, and peeling paint near floor level. Cracks provide direct pathways for rainwater and moisture to enter. Even hairline cracks can become problematic during heavy rainfall, particularly on exterior walls. The correct response depends on the type and severity of the crack. Surface cracks may require appropriate sealants, while structural cracks require professional assessment. Construction quality has a major influence on moisture resistance. Poor concrete compaction, weak mortar joints, inadequate curing, improperly detailed junctions, and insufficient waterproofing can increase water permeability. In such cases, repeatedly repairing the visible damp patch may not solve the underlying problem. The vulnerable construction detail needs to be identified and treated appropriately. A small damp patch may look like a cosmetic issue, but prolonged moisture exposure can have wider consequences. Structural deterioration can occur when persistent moisture affects plaster, mortar, concrete, and other building materials. Reinforcement corrosion can become a concern when moisture reaches embedded steel reinforcement in reinforced concrete. Corrosion can cause expansion, cracking, and deterioration of surrounding concrete. Mould growth becomes more likely when moisture remains trapped in walls and poorly ventilated areas. Indoor air quality issues may develop when persistent dampness contributes to mould and unpleasant odours. Higher maintenance costs are another consequence. Repeated painting, plaster repairs, crack filling, and surface restoration can become more expensive than addressing the source early. Finally, persistent dampness and visible wall damage can affect the value and appearance of a property. A building with recurring seepage problems may require more extensive corrective work before sale or renovation. Professional wall seepage treatment should begin with diagnosis rather than immediate application of a waterproofing product. The objective is to determine how moisture is entering, where it is travelling, and what condition the affected materials are in. A moisture meter can help identify areas with elevated moisture content. Comparing readings across affected and unaffected sections can help professionals map the extent of the dampness. Visible cracks should be documented based on their location, direction, width, and pattern. Crack mapping helps determine whether the issue is primarily surface-related or requires further structural evaluation. When concealed plumbing is suspected, a pressure test can help identify leaks in water-supply systems. This is particularly useful when damp patches appear near bathrooms, kitchens, or pipe routes. If dampness appears on ceilings or upper walls, the terrace or roof should be inspected. Professionals may check surface cracks, drainage points, joints, slopes, membranes, and areas where water can accumulate. Exterior walls should be examined for deteriorated coatings, cracks, porous surfaces, damaged joints, openings around windows, and other potential water-entry points. Where available, thermal imaging can provide additional information about temperature variations associated with moisture. It can help identify potentially affected areas that are not yet obvious through visual inspection. The inspection findings should then be considered together. A damp patch alone does not always reveal the actual source. The right solution depends on the cause of water entry. A practical approach is to match the problem with the appropriate repair or waterproofing method. Before treatment, loose paint, damaged plaster, salts, dirt, and other contaminants should be removed as appropriate. The substrate should be properly prepared before applying the selected waterproofing system. For severe or recurring wall seepage, professional inspection is recommended because treating only the visible surface may leave the actual source unresolved. Different wall conditions require different waterproofing technologies. The following methods are commonly selected according to the substrate and source of moisture. Cementitious waterproofing systems are commonly used where a cement-based waterproof barrier is appropriate. They can be useful for internal wet areas and selected masonry or concrete applications when applied according to the product specification. Acrylic waterproof coatings can be used on exterior walls exposed to weather and rainfall. They provide a protective surface layer that helps reduce water penetration when the substrate has been properly prepared. Elastomeric coatings offer flexibility and can accommodate certain minor movements and hairline cracks. They are particularly useful where exterior surfaces experience repeated weather-related expansion and contraction. Integral waterproofing compounds are incorporated into cementitious materials during construction or repair. They can improve resistance to water penetration throughout the treated material rather than relying solely on a surface coating. Waterproof sealers can help protect porous masonry and other suitable substrates by reducing water absorption. They are especially useful where the objective is to preserve the appearance of the substrate while improving its resistance to moisture. The appropriate system should always be selected according to the substrate, moisture source, exposure conditions, and product specifications. Many homeowners assume that applying waterproof paint will permanently solve a damp wall. In reality, paint is often only one part of a larger waterproofing system. If water continues entering through cracks, porous masonry, a leaking pipe, or a roof, a new layer of paint does not eliminate that source. Moisture can continue accumulating behind the finish, eventually causing blistering, peeling, staining, and mould. In simple terms: Paint can hide the symptom. Waterproofing addresses the source. That does not mean paint has no role. Once the moisture source has been controlled and the substrate has been correctly repaired and prepared, an appropriate paint system can provide the desired decorative and protective finish. 20MCC's Tigersil is a nano-polymeric dispersion designed for wall dampness, salts, mould, and paint peel-off. According to the manufacturer's product documentation, it acts as a water-repellent and mould-inhibiting solution and can be used on affected internal and external wall areas. Its working principle goes beyond simply covering a damp patch with a conventional paint layer. When the wall is correctly prepared, Tigersil can penetrate and bond within the plaster substrate, helping create a hydrophobic barrier that reduces capillary moisture movement. This can help control recurring dampness and moisture-related salt deposits. Tigersil is particularly relevant where the visible symptoms include: Wall dampness Efflorescence or white salt deposits Mould Paint peeling Damp patches Moisture-related surface deterioration The manufacturer's instructions specify cleaning the affected surface down to the plaster level, mixing the liquid and powder components as directed, applying a single cross-hatched coat, and allowing it to cure for 24 hours. The product documentation also states that primer should not be applied over Tigersil. For structural cracks or active leaks, however, Tigersil should not be treated as a universal solution. The manufacturer specifically notes that significant structural cracks or active water entry may require crack repair, sealants, membranes, or other specialised waterproofing measures. 20MCC approaches wall seepage problems by matching the waterproofing solution to the source and condition of the moisture rather than relying on surface paint alone. For damp walls affected by moisture, salts, mould, and paint peeling, Tigersil is designed as a nano-polymeric waterproofing and dampness-control solution. It can be used on suitable internal and external affected areas after proper surface preparation. Efflorescence is often associated with moisture movement through masonry. Tigersil is specifically documented for controlling damp-induced salts and creating a hydrophobic barrier within the plaster when the substrate is properly prepared. When peeling paint is related to dampness, treating the moisture condition is more important than simply applying another coat of paint. Tigersil is formulated for dampness and paint peel-off and can help stabilise the affected surface as part of an appropriate treatment process. Cracks can provide pathways for water entry and should be repaired before relying on a surface waterproofing layer. 20MCC's Cracksil is designed for wall crack repair and has been used for plaster crack-filling applications. When the source of wall or ceiling dampness is a leaking roof or terrace, repairing the roof is essential. Rumido is among 20MCC's waterproofing solutions for roof and terrace leakage. For suitable porous substrates, Nanosil provides a different approach to moisture protection. 20MCC describes Nanosil as a nanotechnology-based, water-based, transparent waterproofing and water-repellent product that penetrates pores and forms a hydrophobic barrier. It is listed for applications involving materials such as bricks, tiles, natural stone, and cementitious surfaces. Wall seepage should not be treated as a simple paint problem. The visible damp patch, peeling paint, white salts, or mould may only be the symptom of a deeper moisture pathway. The most effective approach is to identify the source, inspect the affected structure, repair cracks or leaks, prepare the substrate, and then select the right waterproofing system. Whether the issue is rainwater entering an exterior wall, a leaking roof, concealed plumbing, rising damp, or porous masonry, choosing a solution according to the cause can help reduce recurring repairs and protect the building for the long term. 20MCC offers a range of construction chemicals and waterproofing solutions for wall dampness, cracks, roof leakage, and water penetration. If you are dealing with recurring wall seepage, assess the source before repainting and choose a treatment designed for the actual moisture problem.Wall Seepage: Causes, Signs, Inspection Methods and Effective Solutions
What Is Wall Seepage?
Common Signs of Wall Seepage
Damp Patches
Paint Bubbling
Peeling Paint
White Powder Deposits
Musty Smell
Mould Growth
Wet Corners
Cracked Plaster
Major Causes of Wall Seepage
Poor Exterior Waterproofing
Roof Leakage
Plumbing Leakage
Rising Damp
Cracks
Construction Defects
Why Wall Seepage Should Never Be Ignored
How Professionals Identify the Root Cause
Moisture Meter
Crack Mapping
Plumbing Pressure Test
Terrace Inspection
Exterior Wall Inspection
Thermal Imaging
How to Fix Wall Seepage
Waterproofing Methods for Wall Seepage
Cementitious Waterproofing
Acrylic Waterproof Coatings
Elastomeric Waterproof Coatings
Integral Waterproofing Compounds
Waterproof Sealers
Why Surface Paint Alone Cannot Stop Seepage
How Tigersil Helps Control Wall Seepage

How 20MCC Solves Wall Seepage Problems
Damp Walls - Tigersil
White Salt Deposits - Tigersil
Paint Peeling - Tigersil
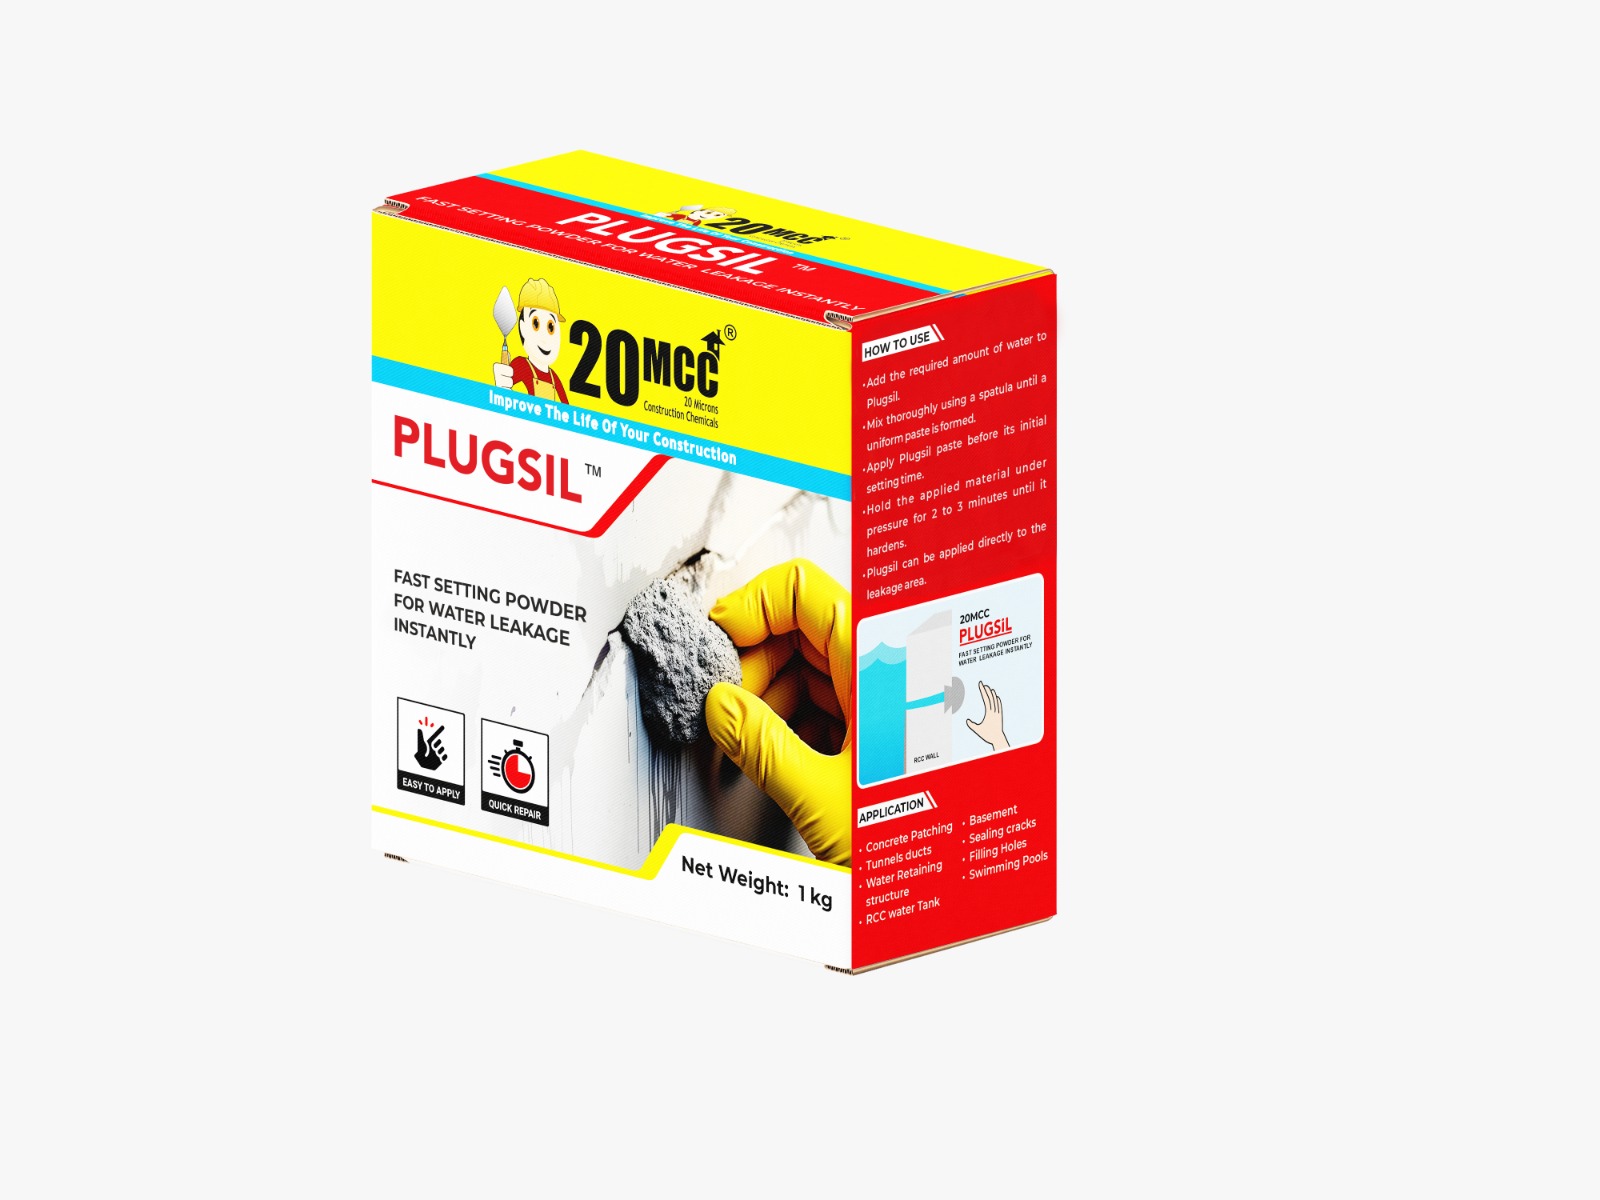
Hairline Cracks - Cracksil

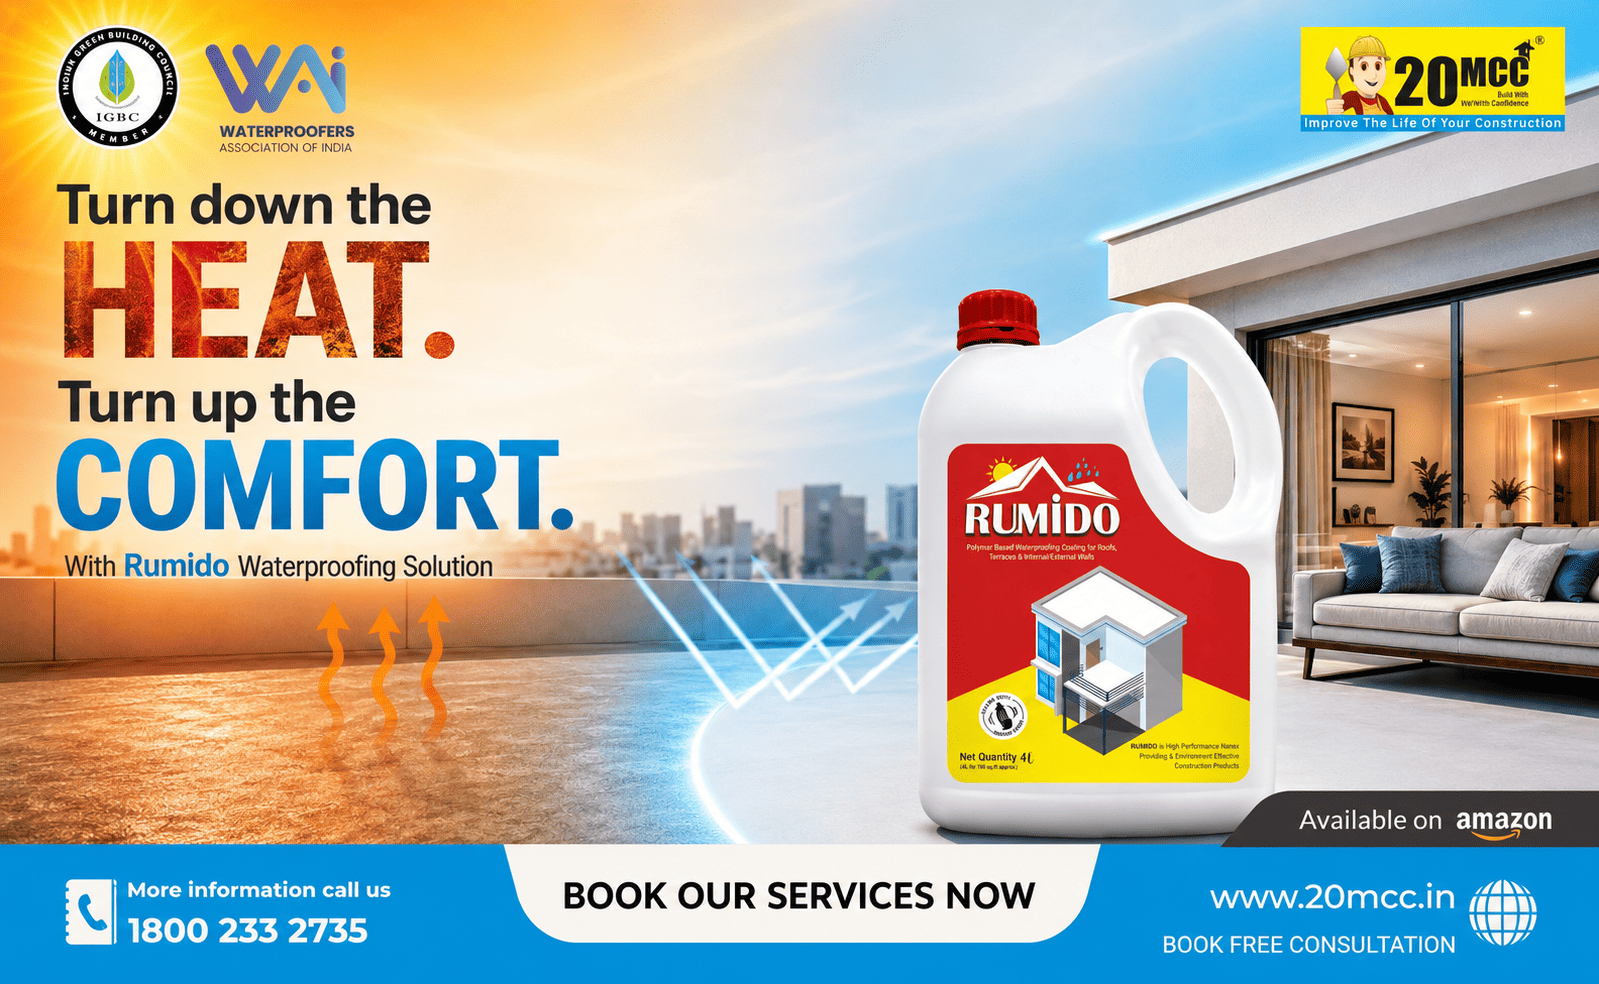
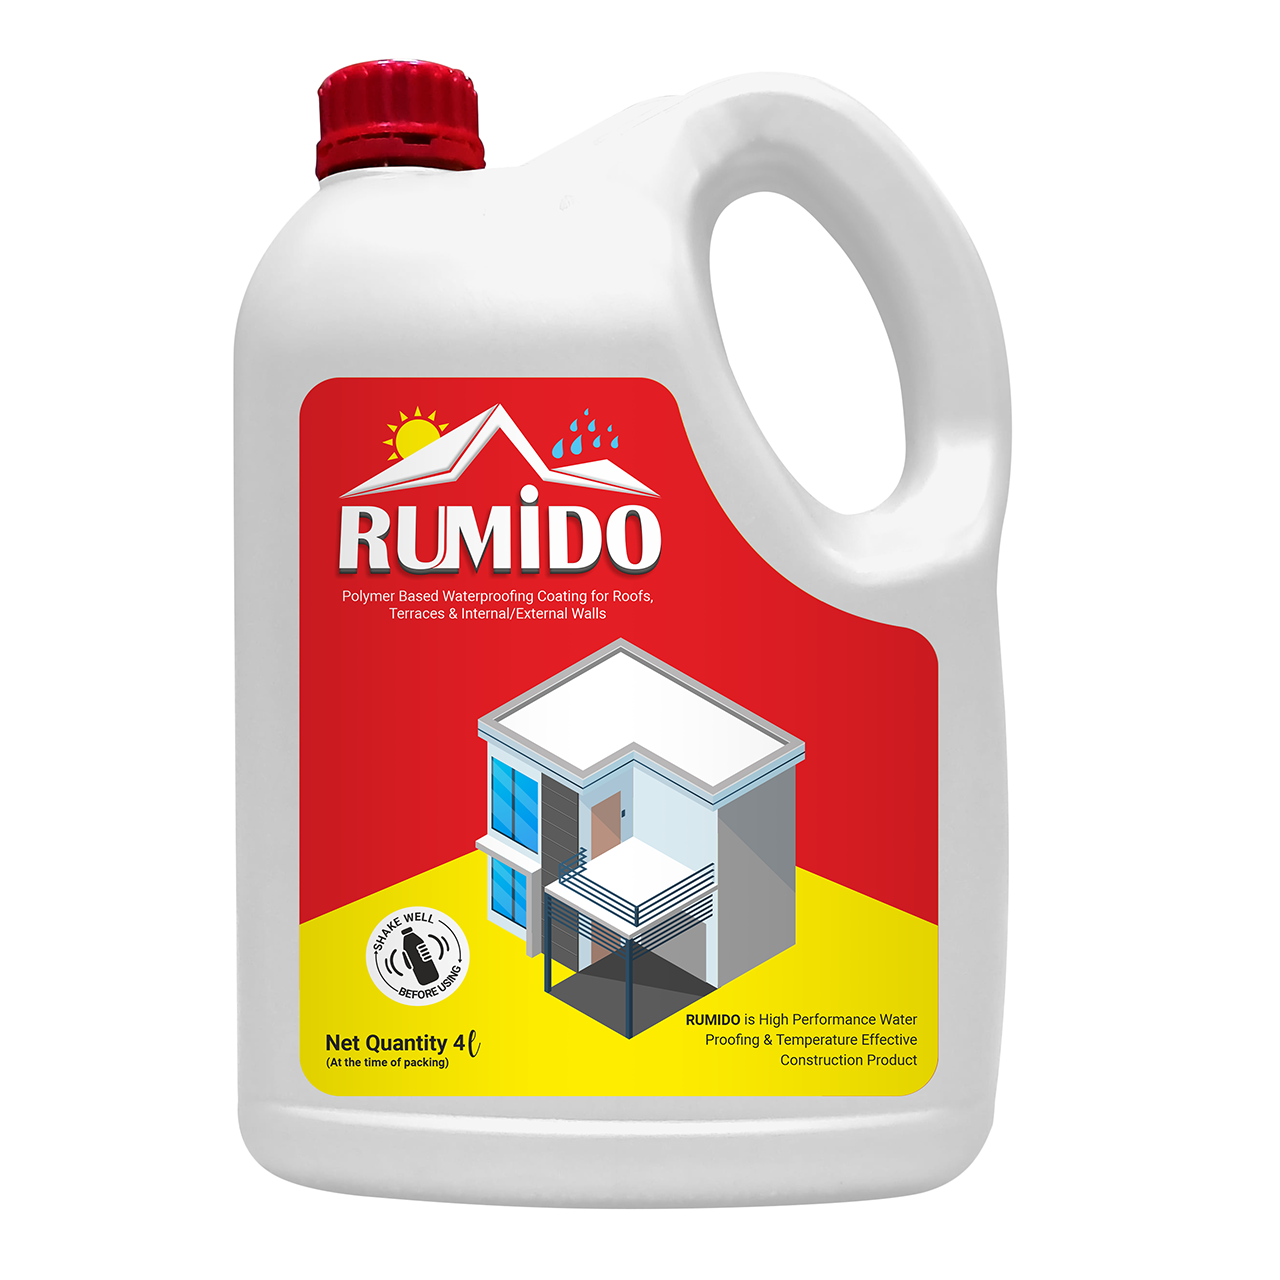
Roof Leakage - Rumido

Deep Waterproofing - Nanosil

Stop Wall Seepage at the Source